Why we photograph every stage
A before photo establishes what was actually wrong. A during photo shows what was found once the old material came off, which is often different from what could be seen from the yard. An after photo proves the finished condition. Together they make a record that settles any question later, from an insurance query to a buyer's inspection.
On roofing jobs the during photos are the most valuable. Rotten decking, missing underlayment, improperly flashed chimneys and old leaks nobody knew about all show up at that stage, and they are the reason a scope sometimes changes mid-job.
Roofing projects
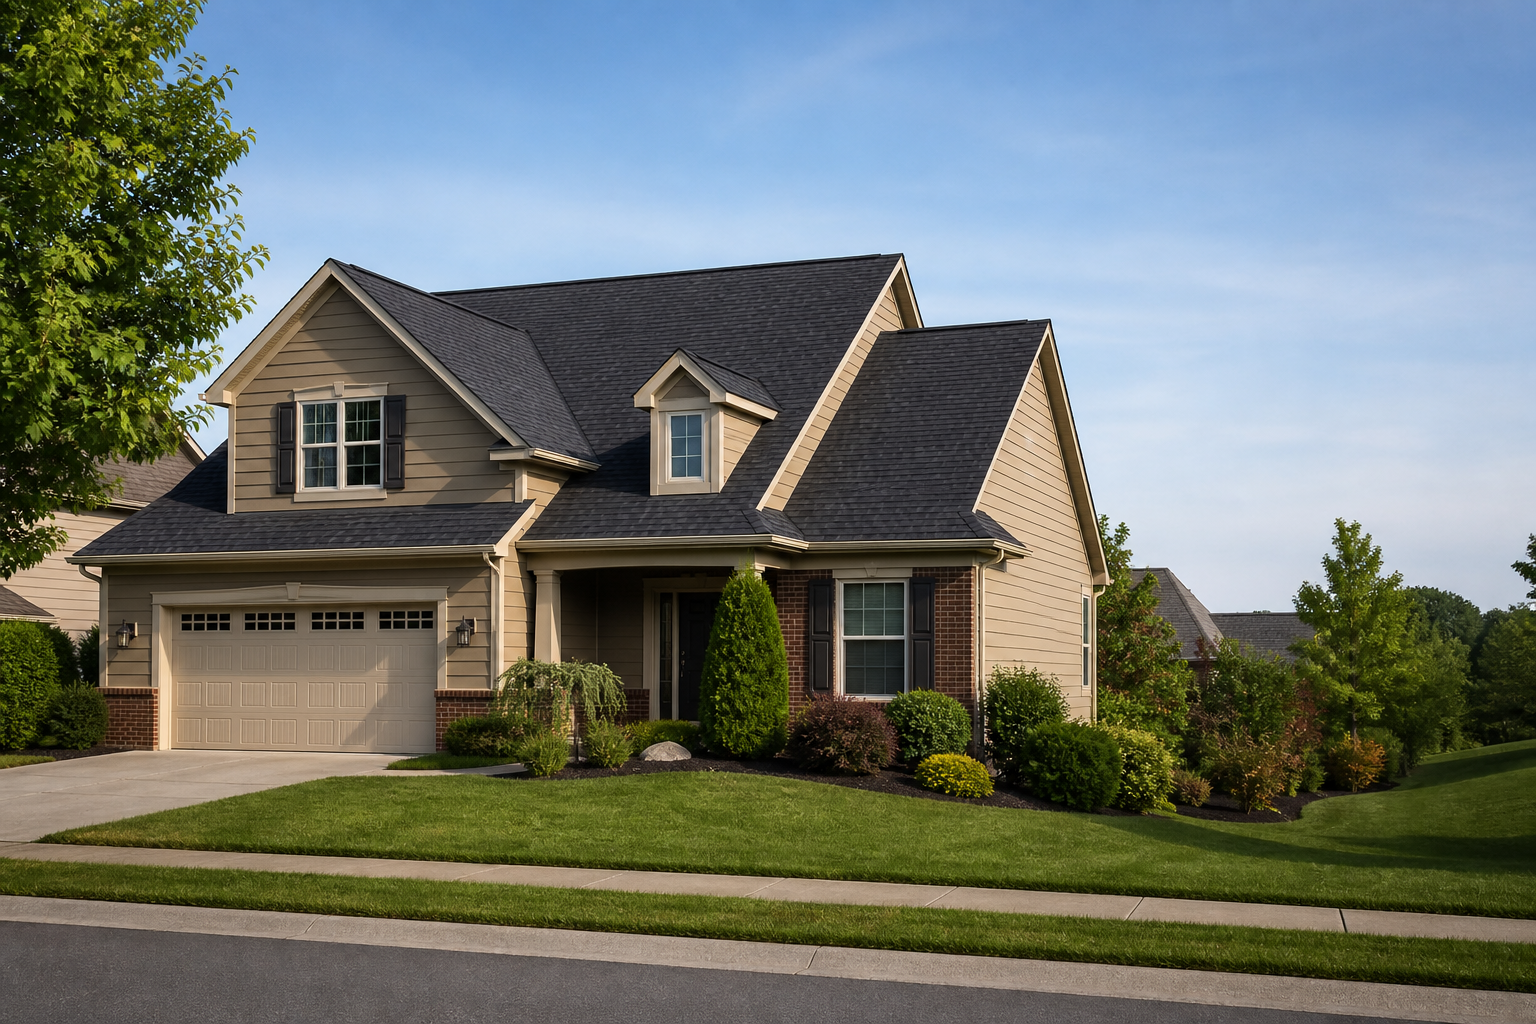
The roofing photos in this gallery run from single-slope repairs on brick ranches to full tear-offs on two-storey subdivision homes. Look for the ice-and-water membrane in the valleys and along the eaves, the drip edge under the underlayment at the eaves and over it at the rakes, and the ridge vent replacing the old box vents.
Storm damage photos show what wind and hail actually do: creased shingles folded back along a line, bruised granules where hail hit, and ridge caps peeled off cleanly.
Siding, gutters and exterior
Siding photos show panel replacement after wind damage and full re-sides where old hardboard had swollen. Gutter photos focus on the details that make gutters work: the pitch toward the downspout, the hangers every couple of feet, and the sealed end caps and mitres.
Pressure washing and exterior painting appear as side-by-side comparisons, since the change is obvious and the prep is what you are paying for.
Interior remodeling
Kitchen and bathroom remodels are shown from demolition through finish. Drywall, flooring and painting projects appear as their own sets. Decks are photographed at the framing stage as well as the finished surface, because the framing is what the county inspector approves and what keeps the deck standing.
Getting a record of your own project
Every customer gets their own project photos at the end of the job, organised by stage. Keep them with the house documents. When you sell, a folder of dated photos of the roof and the work behind the walls is worth more to a cautious buyer than a page of promises.
Reading a roofing photo
Two things to look for in any finished-roof photo: straight shingle courses that line up across the slope, and clean, uniform caps along the ridge. Wavy lines mean the deck was not flat or the courses were not chalked. Both show up again years later as premature wear.
In flashing photos, the counter-flashing on a chimney should be let into a mortar joint, not surface-sealed with caulk. Caulk over brick lasts a few seasons; a reglet cut lasts as long as the roof.